Saturday May 26th, young interns hop out of bed, as early as the birds, to be on time to replant and revitalize the Edible Garden on the downtown McGill campus. We gather between the Schulich Library and the Burnside building of McGill, put on our gardening gloves and prepare our equipments.
A group of us start by heading on to the Stewart Biology building up the hill on Dr Penfield. To extend the growing season of Montreal, in the greenhouse atop the Biology building, seeds were planted in March and April; they have germinated and plants have been nourishing and growing for several weeks now ready to be transplanted. The trays of delicate plants are carefully transported to the Burnside hall plaza in their flats.
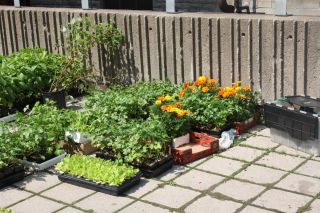
For the first round of planting we brought down a wide range of plants including vegetables like chili-peppers, tomatoes, eggplants,and fine herbs like basil, chives and tarragon. Seedlings are stored on the North-East corner of the Plaza and a temporary hoop greenhouse is setup to protect them while they are being transplanted.

Next,we gather our strengths to pull out the rye grown in the containers. The rye was planted prior to the winter and has been growing for some time now nourishing the recycled soil for the crop of vegetables which will be planted in its place. Rye is an excellent winter cover crop, it grows rapidly, provides quick ground cover, hold the soil in place against the forces of wind and water and for the Nitrogen fixing. Moreover, the soil in the containers is well mixed after adding two large buckets of compost and a single bucket of Perlite (a filer material that looks like Styrofoam.) It's purpose is to add airiness and lightness to the soil and to keep down the weight of the planter boxes.
TIP: Do not step on the soil bed or apply unnecessary pressure. Marching on the beds compacts the soil leaving less space for nutrients like Nitrogen, Phosphorus and Potassium to flow through and for the root structure of plants to flourish. Adding Perlite also provides airiness to the crop thus allowing the soil to be well drained and nourished for a better crop.


Planting Beans
They are planted in containers placed along the West façade of the Burnside hall plaza and the small independent structure (the staircase box) on the South-West corner of the Plaza. Here are the planting steps:
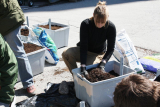
2. The containers are checked for leakage. The semi-hydroponic containers’ drainage structure separating the soil from the water reservoir is also checked to ensure that the planting medium is kept separate from the water reservoir at the bottom of the container.
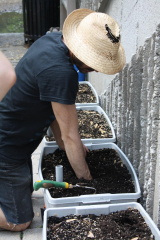
TIP: The drainage system is easily tested by inserting your hand deep down inside in the container and touching the lowest layer of soil and collecting a palm sized sample. The odor of this sample should be that of fresh soil not a rotten smell; if it smells bad the baffle is breached, time to fix it.
3. Once the system has been tested it's time to plant the beans! Four finger sized holes are made in each planter on the top surface of the soil and the bean seeds are slipped into them and covered over with soil.
TIP: The bean seeds can be immersed in a jar of water overnight before planting. This is a very important step for it allows them to germinate quickly.
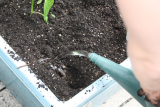
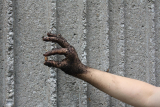
TIP: As a general rule the beans should be planted in the soil at a depth which equals to three times the height of the bean seed as demonstrated in the picture.
Planting basil and lettuce
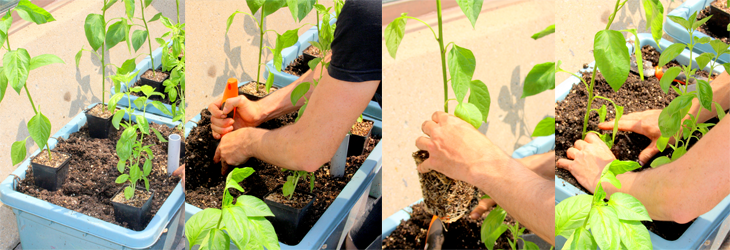
The basil and lettuce are transported in form of seedling grown in the greenhouse in their flats. These fragile plants need to be removed carefully from their flats and re-potted into larger self-watering containers. Care must be taken as the pot has to fit the plant’s root system to prevent the plant from being root bound.
Here are the steps to a successful re-potting:
1.The plant must be watered thoroughly 24 hours before re-potting.
2.Cautiously remove the plant by placing one hand across the soil surface, hold the bottom of the container with the other hand and turn the pot upside down. By giving the flat a sharp, upward jerk the plant with its root-system intact should easily slip out.
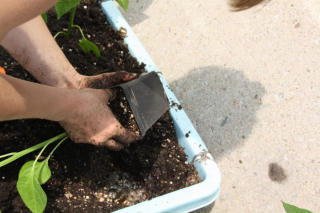
Tip: loosen the roots out gently to encompass all the soil and remove as much of the old soil as possible before re-locating the plant.
3. As you inspect the beautiful intricate network the roots have created, if only a few roots are visible then the plant does not require re-potting, however, if many are winding around the exterior then re-potting is necessary.
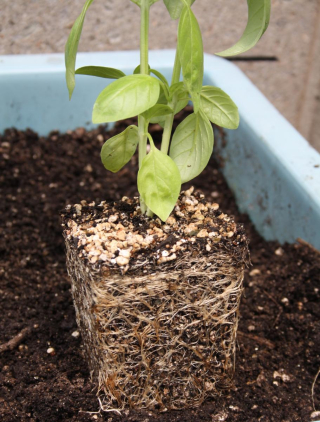
4. Create a hole in the new soil the size of the root ball. The hole should be at a depth that is equal to the depth the plant has been placed in the previous flat. If too much of the stem is buried in the soil, the plant becomes susceptible to decay and disease.
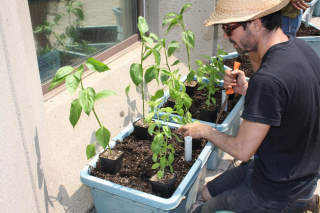
Tip: Make sure to space the plants approximately a foot away from each other in every direction to prevent the roots form entangling and competing for nutrients in the same space.
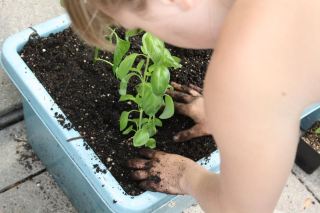
5.Water the soil at the hole created for the plant thoroughly. This is to ensure that the soil is well moist which is required to allow the plant to establish itself in the new container.
6.Stablize the soil gently, and then pat the container sharply to settle the soil and reduce air spaces.
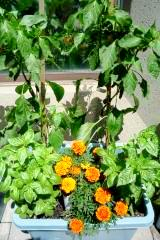

Marigolds provide an incredible splash of color to the garden their flowers last for weeks as well as provide pest control. The smell of the flowers and foliage of marigolds deters aphids from feeding on neighbouring crops providing natural pest control without the use of chemicals ensuing An Organic Edible Campus.